- Dec 19, 2011
- 6
- 1
- 0
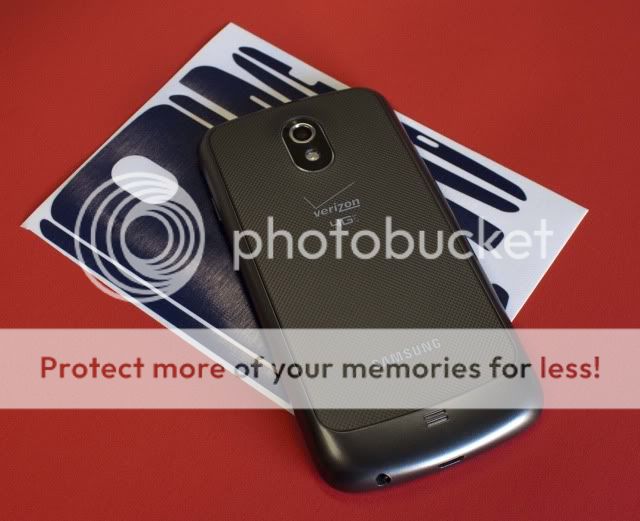
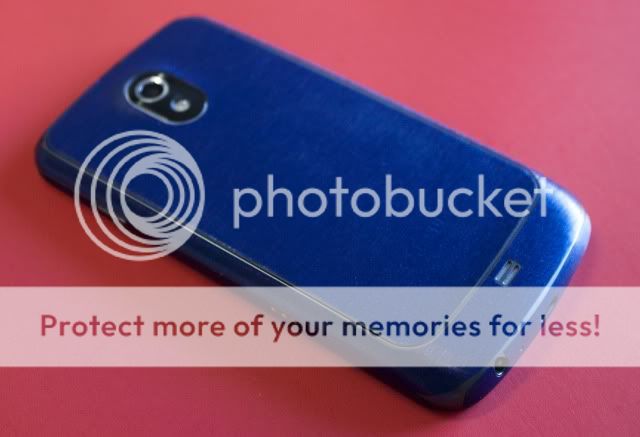
This is the Brushed Steel Blue EXOSkin available @ xgearlive.com
Made of 3M material
Made in America
Extremely easy installation
Provides better critical coverage than other skins
So here's the installation-
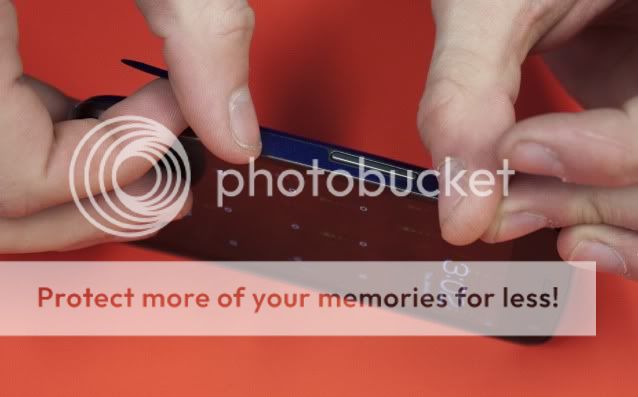
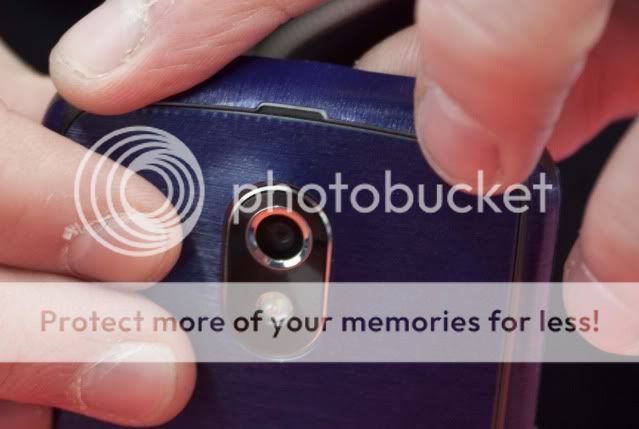
Align the camera hole, before pressing down make sure everything lines up to your liking
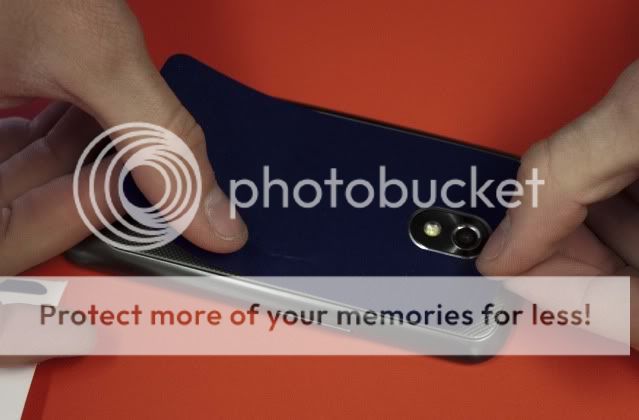
Press out any air bubbles with your fingers, smoothing out the surface
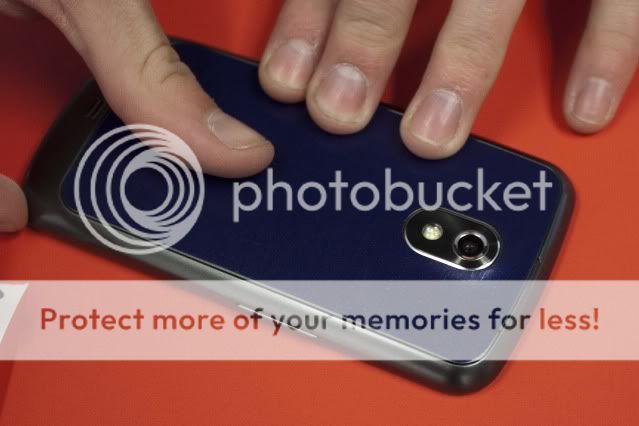
The speaker cover is next, align the speaker and make sure it is center. This piece should be about 1mm away from the battery door.

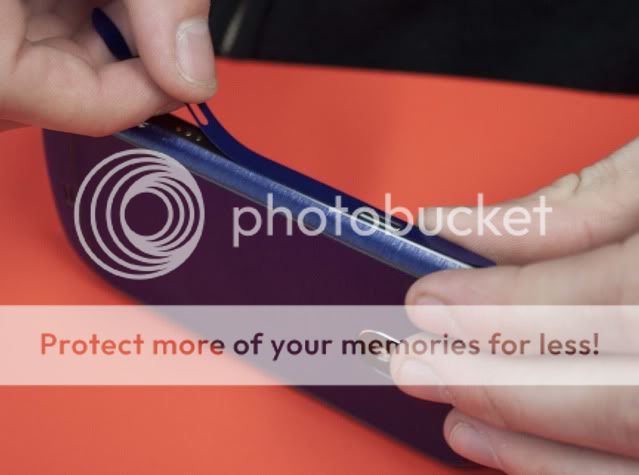
After you smooth that bottom part down, continue onto the sides using the same procedure. Align it about 1mm away from the battery door and press to stick it on.
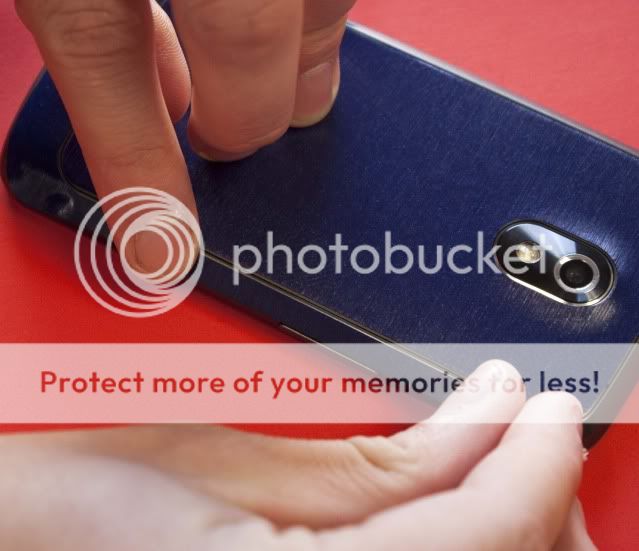
Next do the sides that are closest to the screen. You'll want to align the skin with the volume rocker, then work your way onto the sides. This should be flush with the screen.
Now for the bottom piece, align the charging port hole. This piece should be about 1mm away from the front screen.
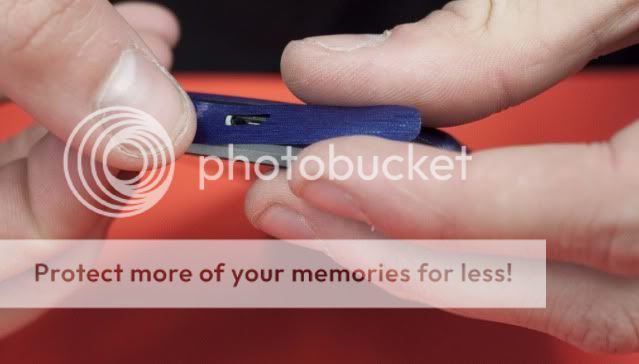


For the top, align the small notch to the little opening for the battery door. This piece should be flush with the front screen.
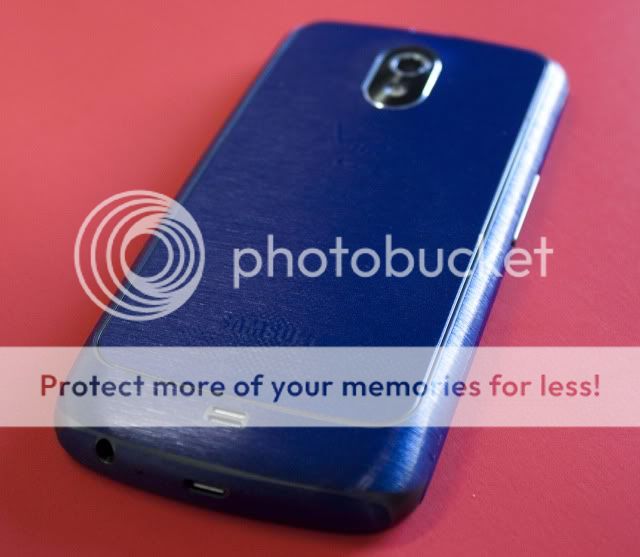
The last piece, the front, is optional. I would not recommend using it if you have a screen protector as there is a possibility of it lifting the screen protector up if you ever need to remove the skin. Align the camera hole and speaker.


Here's the finished product, turned out well and was done in less than 5 mins. Take your time and you can get it near perfect. Do note that we did not use a heat gun as it was not needed.
Made of 3M material
Made in America
Extremely easy installation
Provides better critical coverage than other skins
So here's the installation-
Align the camera hole, before pressing down make sure everything lines up to your liking
Press out any air bubbles with your fingers, smoothing out the surface
The speaker cover is next, align the speaker and make sure it is center. This piece should be about 1mm away from the battery door.
After you smooth that bottom part down, continue onto the sides using the same procedure. Align it about 1mm away from the battery door and press to stick it on.
Next do the sides that are closest to the screen. You'll want to align the skin with the volume rocker, then work your way onto the sides. This should be flush with the screen.
Now for the bottom piece, align the charging port hole. This piece should be about 1mm away from the front screen.
For the top, align the small notch to the little opening for the battery door. This piece should be flush with the front screen.
The last piece, the front, is optional. I would not recommend using it if you have a screen protector as there is a possibility of it lifting the screen protector up if you ever need to remove the skin. Align the camera hole and speaker.
Here's the finished product, turned out well and was done in less than 5 mins. Take your time and you can get it near perfect. Do note that we did not use a heat gun as it was not needed.

 Twitter