- Dec 4, 2012
- 35,584
- 525
- 113
Google Keep: The Guide
In a nutshell, Keep is a note taking app. Google kept it simple. You take notes, make a list, and even set reminders.
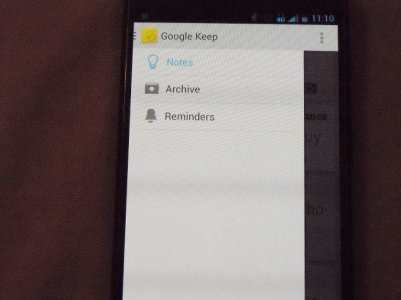
This is the main menu of Keep, showing the three features.
[TIP]Even though this is the main menu, the default screen is your notes screen. To access the menu, tap the upper left hand corner of the screen. [INFO]You can Archive any note or Reminder. Using the menu buttons at the upper right hand corner, you can choose Archive, Delete, Show Checkboxes (I will touch on that later), Share, Settings, Feedback, and Help.[/INFO][/TIP]
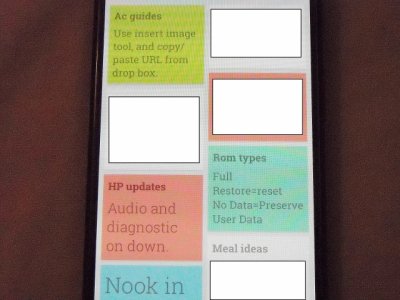
This is my own Archived list.
Archived notes allow you to save them for whatever reason as opposed to deleting or keeping them in your main Notes section.
Reminders can be set one of two ways. Method one is clicking the menu at the upper left and clicking Reminders. There you can create a Reminder. The other is to just create a Note, and at the bottom is a click that will set a reminder.
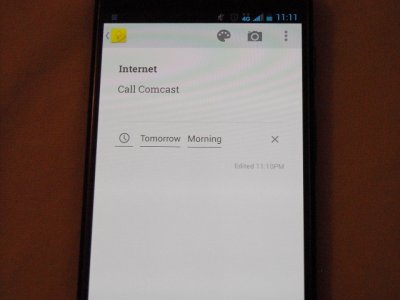
Similar to Google Now, a reminder is set up by Time or Location, Date which can be edited to any, and Time which also can be edited.
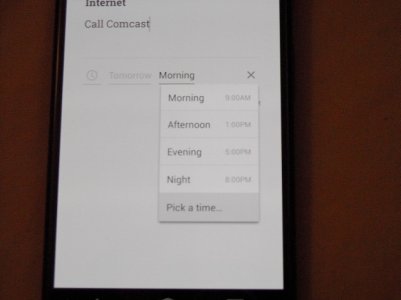
Here I can set up the reminder by default times, or...
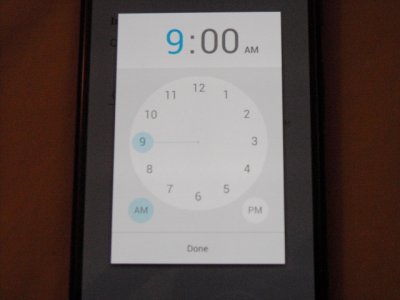
Like many other Google Apps, I can edit the time to whatever suits me.
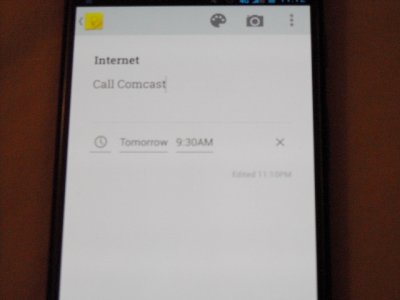
For this example, I chose to be reminded to Call Comcast at 9:30.
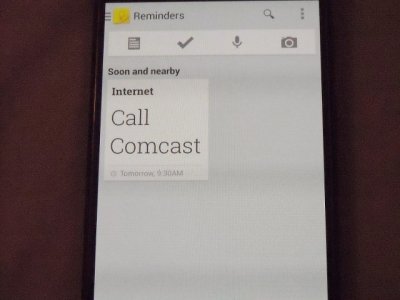
Here is the finished time reminder.
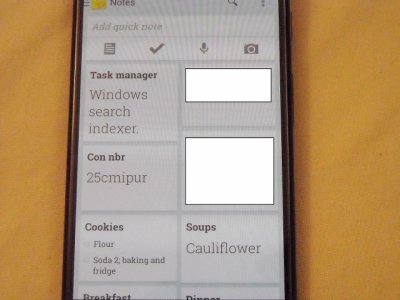
This is the general Note screen, shown in default 2 column view.
[NOTE]Across the top are your types of reminders. First is the typing feature. Second is a list. Third is a dictation note. And fourth is a photo note[/NOTE]
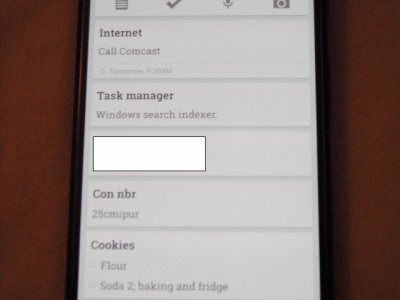
Demonstrating the single column view.
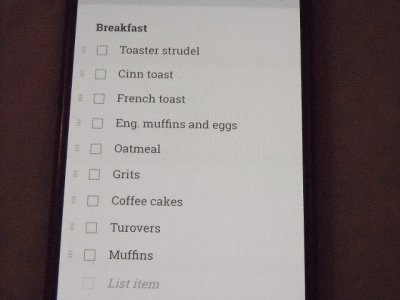
Here is the List note feature. Each empty square is a checkbox to aid in say, a grocery list.
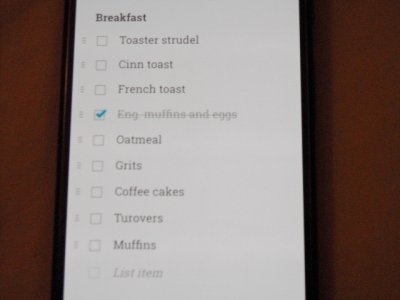
Demonstrating the checked feature.
Overall, this guide probably makes the app seem more complicated to use than it actually is. Since inception, I use this app almost daily.
In a nutshell, Keep is a note taking app. Google kept it simple. You take notes, make a list, and even set reminders.

This is the main menu of Keep, showing the three features.
[TIP]Even though this is the main menu, the default screen is your notes screen. To access the menu, tap the upper left hand corner of the screen. [INFO]You can Archive any note or Reminder. Using the menu buttons at the upper right hand corner, you can choose Archive, Delete, Show Checkboxes (I will touch on that later), Share, Settings, Feedback, and Help.[/INFO][/TIP]

This is my own Archived list.
Archived notes allow you to save them for whatever reason as opposed to deleting or keeping them in your main Notes section.
Reminders can be set one of two ways. Method one is clicking the menu at the upper left and clicking Reminders. There you can create a Reminder. The other is to just create a Note, and at the bottom is a click that will set a reminder.

Similar to Google Now, a reminder is set up by Time or Location, Date which can be edited to any, and Time which also can be edited.

Here I can set up the reminder by default times, or...

Like many other Google Apps, I can edit the time to whatever suits me.

For this example, I chose to be reminded to Call Comcast at 9:30.

Here is the finished time reminder.

This is the general Note screen, shown in default 2 column view.
[NOTE]Across the top are your types of reminders. First is the typing feature. Second is a list. Third is a dictation note. And fourth is a photo note[/NOTE]

Demonstrating the single column view.

Here is the List note feature. Each empty square is a checkbox to aid in say, a grocery list.

Demonstrating the checked feature.
Overall, this guide probably makes the app seem more complicated to use than it actually is. Since inception, I use this app almost daily.
Last edited:

